Roller shutters are designed to make the lives of your customers easier – from filtering in the morning light as their children wake up to cloaking their bedrooms in complete darkness for a good night’s sleep. When it comes to ultimate home comfort, roller shutters are at the top of their game.
But a window covering that offers so much is sure to have a lot of componentry – most of which your customers can’t see. The roller shutter strap, while often not visible, is perhaps the most important part of all. So, what should you do if the strap needs to be replaced?
At CW Products, you can call on our expertise and knowledge of our specialty products and applications to provide market-leading training and upskilling for your salesforce and installers. We’re always happy to help you and your team learn in-house, so you can consistently deliver amazing customer service.
Just because the roller shutter strap is an internal component, that doesn’t mean that replacing it is difficult. We’ve created this useful step-by-step guide to show you how you can replace your customer’s roller shutter strap.
What is a roller shutter strap?
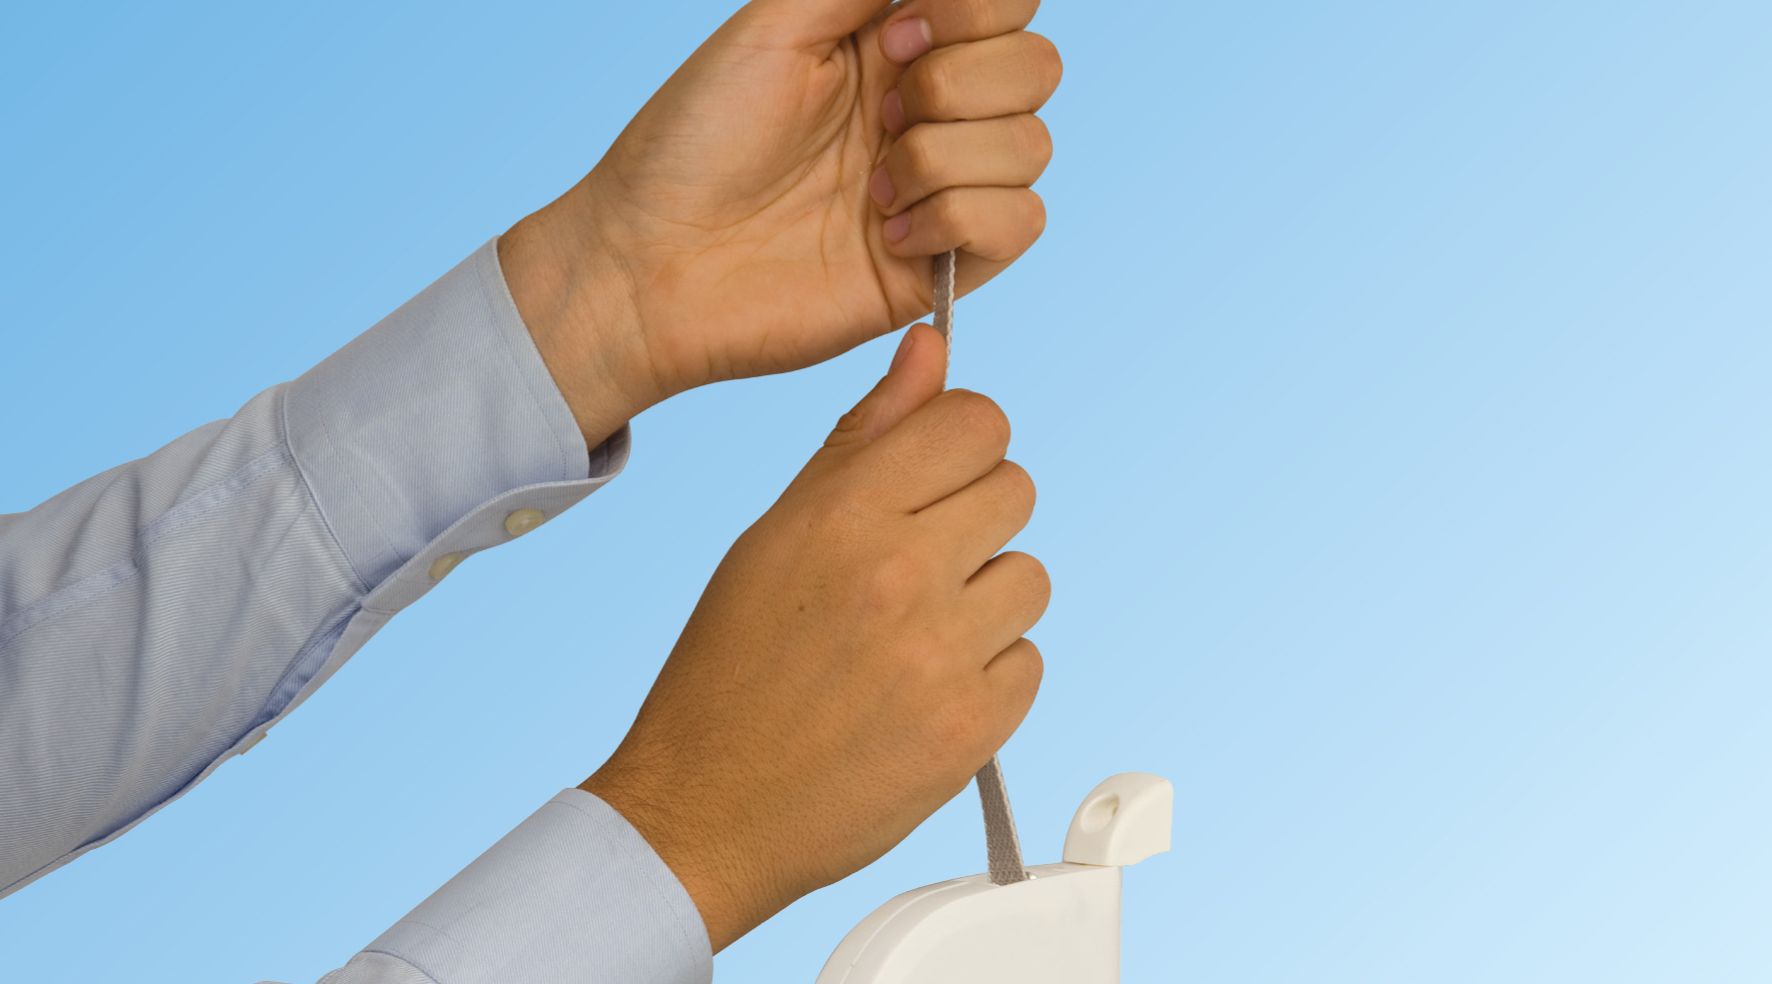
Only found on non-spring loaded roller shutters, the roller shutter strap, sometimes referred to as the shutter belt, cord or cable, is the strap that pulls the curtain up and down. The strap often feeds through the roller shutter pelmet, through the building’s wall, and down into the strap winder or coiler box.
In order to open or close the roller shutter, you must crank the strap winder box. Pulleys in the winder box and pelmet will wind the strap around its mechanisms, making the shutter rise and fall.
Other roller shutter components
Curtain
The roller shutter curtain is made up of precision roll-formed or extruded interlocking aluminium profiles that roll up and down between the side guides.
Guide channels
The side guides are aluminium extrusions that sit on either side of the roller shutter. They hold the roller shutter curtain in place and allow it to run up and down.
Bottom bar
The bottom bar is an aluminium extrusion that interlocks on the bottom of the roller shutter curtain. It provides the curtain with added strength and neatly finishes the roller shutter curtain, improving its aesthetic appeal.
Side frames
Also known as end plates, the load-bearing side frames support the pelmet and internal roller shutter components – including the axle that the curtain rolls onto. These side frames should be secured to the building with appropriate fixings.
Pelmet
The canopy cover is often referred to as the hood or pelmet box. The cover is made from durable aluminium and is designed to fold around the side frames and protect the curtain from the outside elements.
We always recommend installing a pelmet as it improves aesthetics and helps protect the internal components of the roller shutter, which improves the shutter’s longevity.
Axle
Also known as the roller tube or shaft, the axle is the component within the pelmet that facilitates the up-and-down movement of the curtain. When opening, the curtain rolls around the axle
How to replace a roller shutter strap
Replacing a roller shutter strap is easy. All you need to do is follow our simple steps:
- Remove the roller shutter curtain. Do this by disconnecting the security springs (otherwise known as t-springs) from the axle. These springs are responsible for connecting the curtain to the axle.
- Remove the axle and pulley from the pelmet, and pull out any broken straps or cords from the roller shutter pulley.
- Fit the new strap onto the roller shutter pulley. You can do this by feeding the new strap through and tying a knot. Then, you can pull the strap around the pulley.
- Make sure that all of the strap or cord is on the pulley. Leave enough strap out to run through the wall and down into the strap winder box. This will allow the roller shutter to close fully.
- Feed the strap through the wall and reinsert your axle and pulley into the roller shutter pelmet.
- From the inside of the building, take the strap coming down the wall into your existing winder box. Make sure there’s no legacy strap left over.
- If there is a lot of strap left over, feed it into the internal pulley on the winder box and tie it in.
- Refit all the parts and put the pulley back in. Reassemble your winder box and install it on the wall.
- Test that the roller shutter goes up and down to ensure that the shutter is working as expected.
- Reinstall your roller shutter pelmet on the outside.
Read our blog, ‘How to replace a roller shutter winder box’.
Need help? We’re here to support you
If you find that you need some guidance or support, CW Products has a technical support line available with a friendly, knowledgeable team that can assist you in helping guide you to resolve your issue on-site. Contact us to have one of our knowledgeable specialists help you with your roller shutter today.
With CW Products, you get more than a supplier, quality products and exceptional customer service. You get an experienced, reliable partner you can count on to grow your business. Contact us today to find out how we can help support your business.