Electric roller shutters don’t just keep your company’s equipment, products and staff safe, but they also play a crucial role in your business’ security. When everyone has left for the night, your roller shutters can sometimes be the only thing standing between your livelihood and a sneaky intruder. So it’s important that your electric shutters are always functioning properly.
At CW Products, your success is our success. Unlike other roller shutter and home automation suppliers, we don’t compete with you – we partner with you and support you. Backing you, helping to build your business and supporting your sales as if they were our own.
So what do you do when your shutters aren’t working as they should? Don’t panic – the solution could be more simple than you think. We’ve put together this handy troubleshooting guide on what to do when your electric roller shutters don’t operate.
How do electric roller shutters work?
Unlike manual roller shutters, which need to be pulled up and down by hand, electric shutters are opened and closed with the aid of an electric motor. This motor spins the axle, which is attached to the curtain. The curtain follows the motion of the axle during closing and opening.
The shutter will then roll up or down, depending on what direction the axle is spinning.
Electric roller shutters can be controlled by various means, such as:
- Remote control
- Wall switch
- Key switch
- App on your phone, tablet or any other smart device
Why won’t my electric roller shutters work?
The motor has overheated
When your electric roller shutter’s motor gets too hot, it will stop operating. This can happen if the shutter has been in constant use for a short period of time (4 minute maximum continuous runtime), or even if the temperature outside is considerably high.
Many electric roller shutters have a thermal fuse that causes the motor to shut down if the temperature reaches a certain point. This is a safety feature that prevents the motor from further damage or burning out completely.
Poor installation
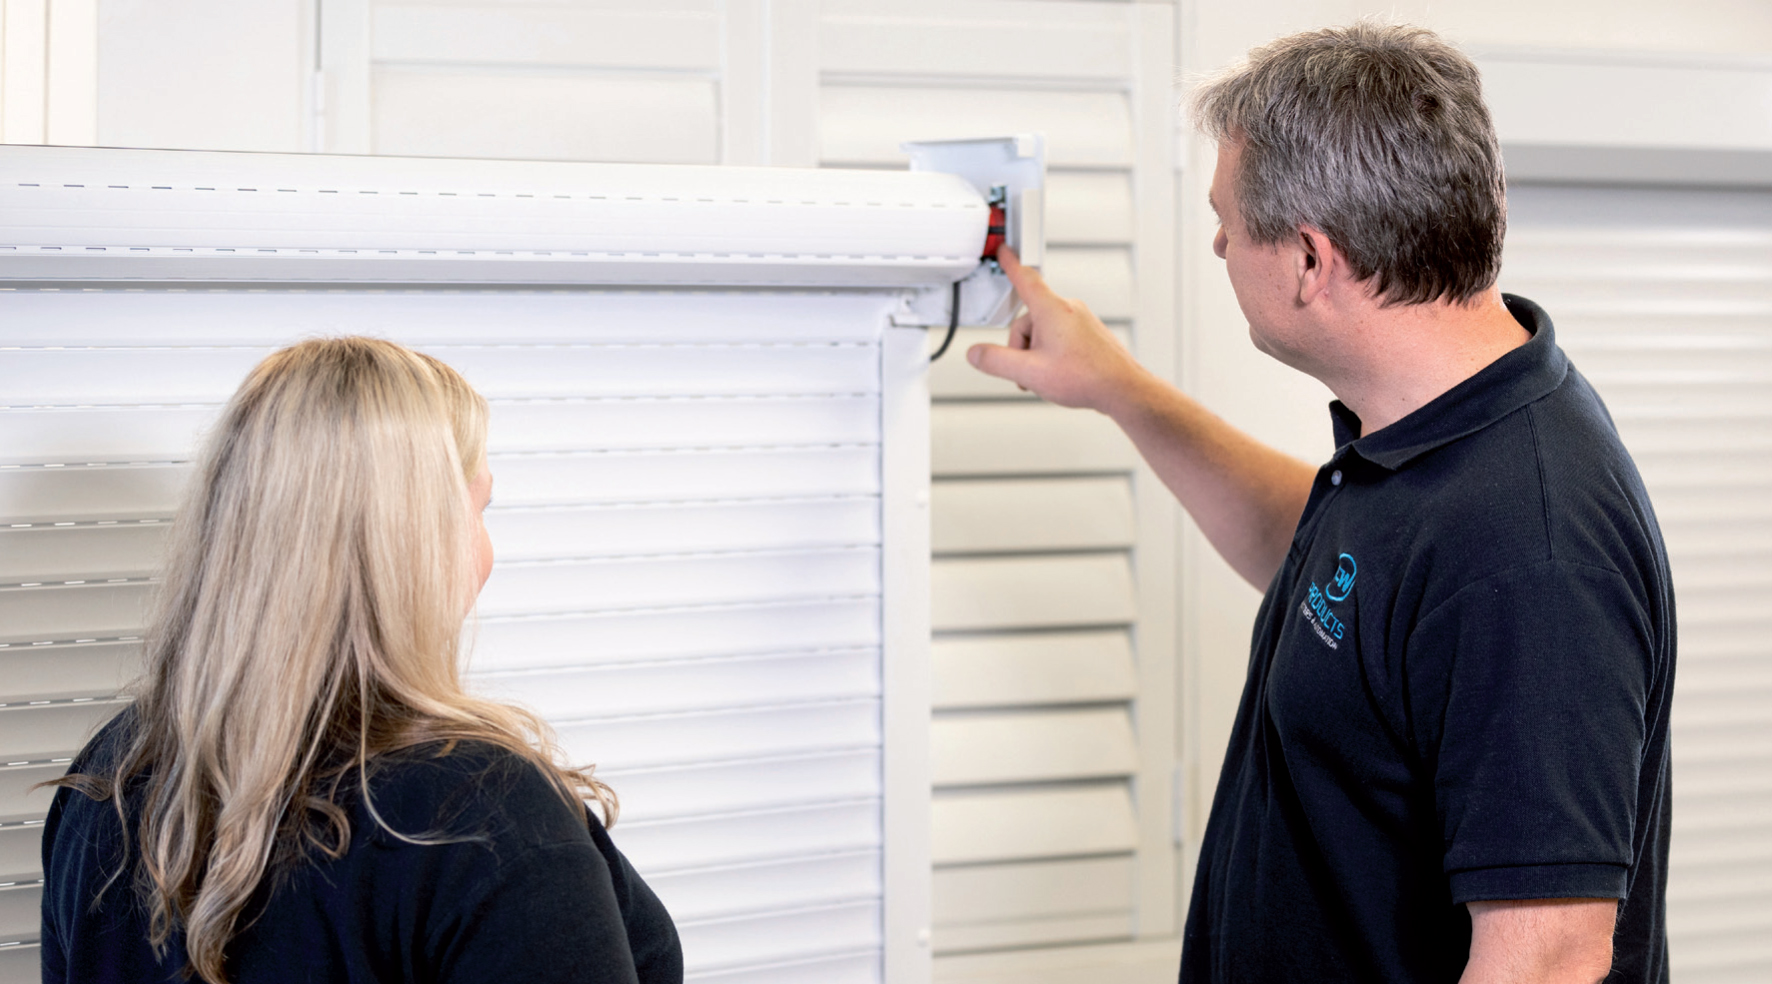
Another reason why your electric roller shutter may not be working could be the placement of the motor within the shutter axle tube. In order to be fully functional, the motor drive wheel must be inserted inside the axle tube and fixed securely with a screw or pop rivet. But if your roller shutter has been installed incorrectly, the screw or rivet in the wrong position may impede the motor and axle from rotating together correctly.
The motor needs to be replaced or repaired
If you’ve tried every possible solution and your shutter still isn’t working, it could mean that the entire motor has to be replaced.
Over time and use, the wires and motor inside your shutter can start to deteriorate. In this situation, the motor will need to be replaced completely. However, the motor can also stop working if it hasn’t been installed properly or if there is a loose wire.
Read How To Fix Manual Roller Shutters
Electric roller shutters troubleshooting: how to repair roller shutters
How to repair an overheated motor
Thankfully, repairing an overheated motor doesn’t require tools, expertise or even a call to a shutter expert. All you need to do is give the shutter time to cool down.
Step away from the shutter and refrain from using it for 10-30 minutes. This will give the shutter sufficient time to cool off. Once the motor has returned to a normal temperature, it should operate as normal.
If your electric roller shutters still don’t work after half an hour, the motor may be faulty or damaged and will need to be replaced. If that is the case, it’s best to call a professional to help you.
How to place the motor in the correct position
As mentioned earlier, an incorrectly placed motor within the axle tube can stop your electric shutters from working. The motor must be held securely in place with a screw or rivet – if this screw or rivet is missing or placed in the wrong location, the shutters will cease to work.
Take a close look at your roller shutters’ components and determine where they are fitted. The screw or rivet should be placed on the plastic drive wheel at the end of the motor that is furthest inward. Alternatively, you can compare your installation with the diagram in the motor manufacturer’s manual. If you no longer have it, we’re always more than happy to send you a new one – whether online or as a hard copy.
How to replace an electric roller shutter motor
There are many different types, styles and models of electric roller shutters, so the method of replacing the motor may vary depending on the kind of shutter you have. So it’s always best to seek the advice of a professional – like us – before. However, we have put together these general guidelines for replacing your motor.
- Determine if the motor is 240V or 12V.
- If the motor is 240V, isolate the power supply by unplugging or turning off power at the isolation switch or at the switch board. If the motor is 12V, disconnect from the controller (ie. for PowerSmart or SolarSmart).
- Locate and remove rivets from the roller shutter’s pelmet front cover.
- If the curtain is not in the down position, remove the motor bracket rivets or bolts on the pelmet side frame which allows the curtain and axle assembly to be rotated in the downward direction. Be careful with the motor cable, as it may need to be cut, or pull sufficient excess cable to allow curtain and axle assembly to rotate. If the motor brackets are inaccessible (ie.the shutter is installed in reveal fit), the curtain may need to be removed from the shutter or the shutter may need to be uninstalled.
- Remove the rivets or loosen grub screw of the axle end cap, located on the opposite end of the motor of the axle assembly.
- Slide the axle cap inwards to allow the axle cap to come away from the side frame pivot or out of the idler bearing.
- Disconnect the security springs (T straps that connect the axle to the curtain) by drilling out rivets or unclipping from the axle.
- Remove the motor and axle assembly from pelmet enclosure.
- Remove the motor’s retaining rivets or screws from the axle and slide the motor out.
- Fit replacement motor back into the axle.
- Refit axle assembly back into pelmet.
- Connect the new motor to controller or rewire to power supply. Please note that 240V connections must be completed by a licenced electrician. 12V connections can be completed by a service technician or installer.
- Run the motor in the downward direction, this will make setting limits simpler.
- Reconnect security springs to axle.
- Follow supplied motor instructions to set top and bottom limits.
- Refit pelmet front cover and rivet back into place.
If you need help replacing your electric roller shutter motor, we’re always here to help with advice and guidance. Our team of shutter experts are available for all your shutter repair and maintenance trade enquiries. Contact us to have one of our knowledgeable specialists help you replace your motor today.
With CW Products, you get more than a supplier, quality products and exceptional customer service. You get an experienced, reliable partner you can count on to grow your business. Contact us today to find out how we can help support your business.